Making of 50-cm Polishing Lap
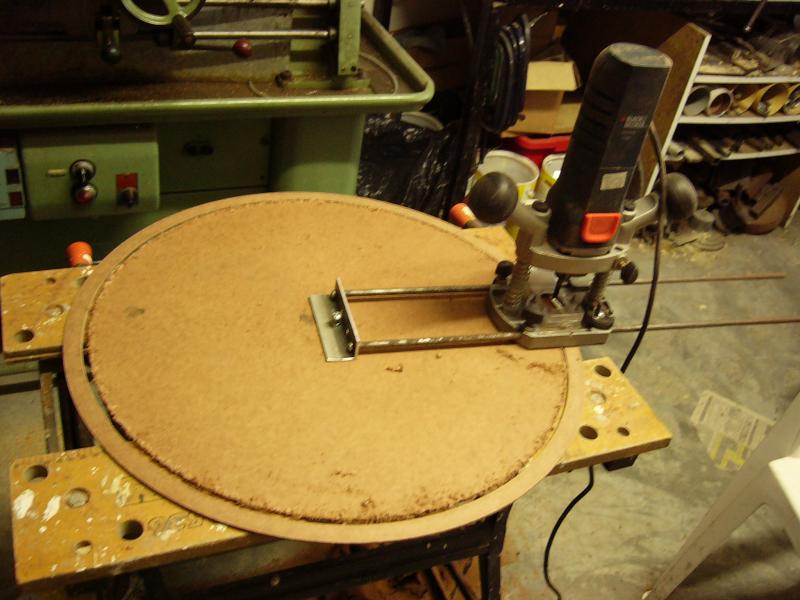
During the making of the 50-cm tile tool it was found that the sement base was not very round which caused problems with fixing the tool to the machine drive pin. In order to make a round cement base for the pitch lap a ring was cut from hardboard with a router.
Below is photos of the process (click on the thumbnails to see a larger picture):
Step 1 – Casting the base
 |
 |
 |
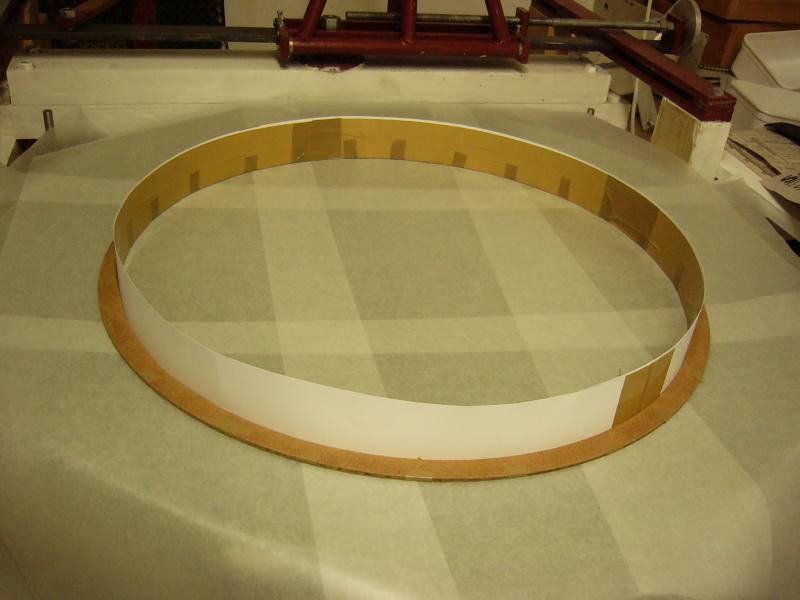 |
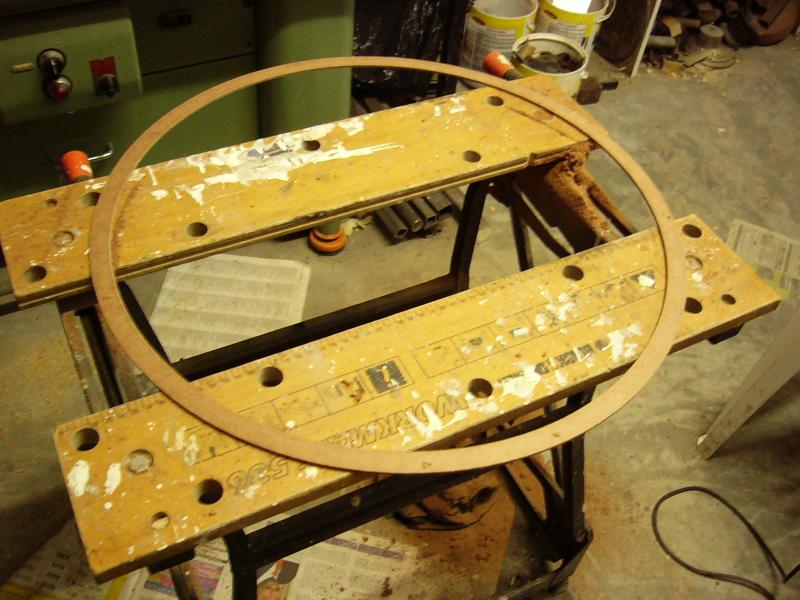
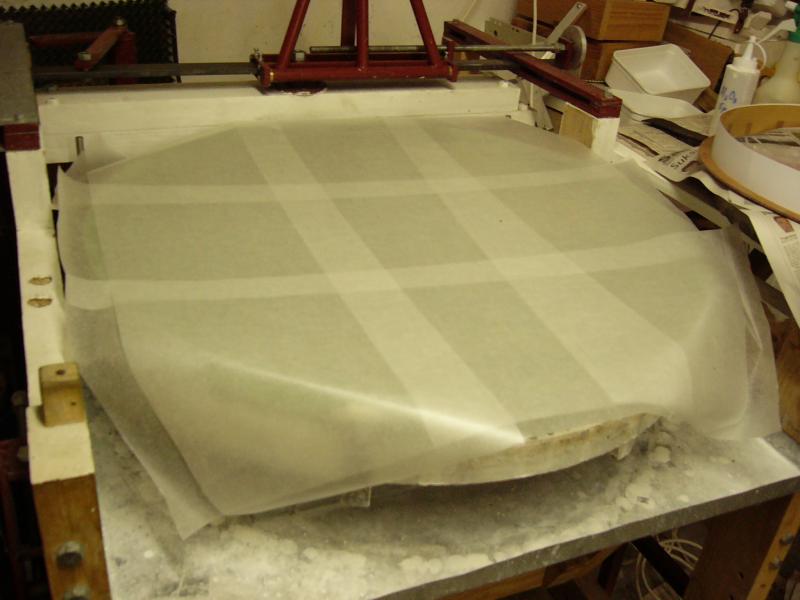
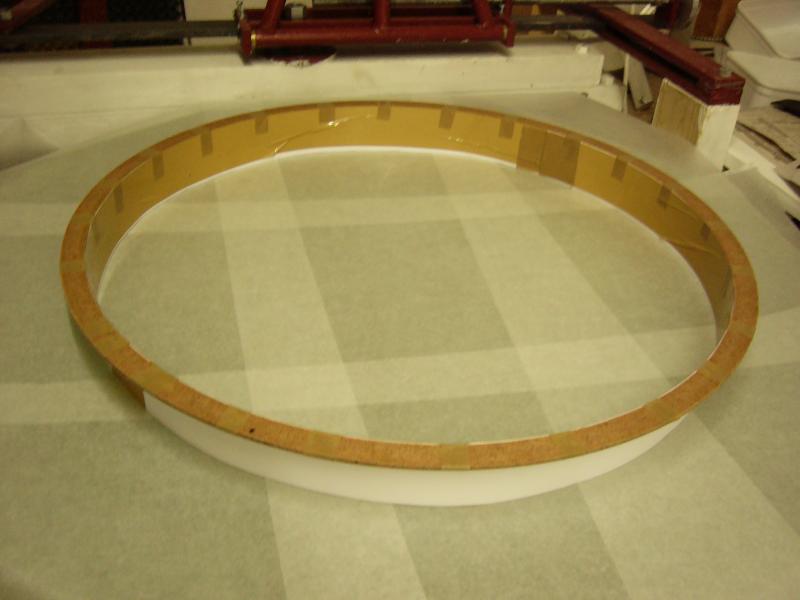
| The ring being cut from the hardboard with a router. | The finished ring. | In order to prevent the cement base from scratching the mirror, two layers of wax paper was placed at right angles on the mirror. | Cardboard and tape was used again to make the form. Pieces of tape was used to secure the form to the ring. |
 |
 |
 |
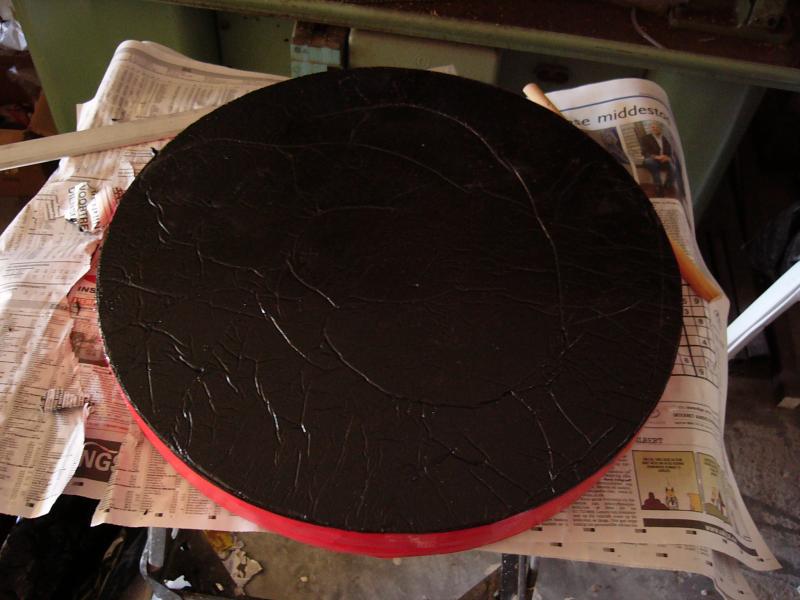 |
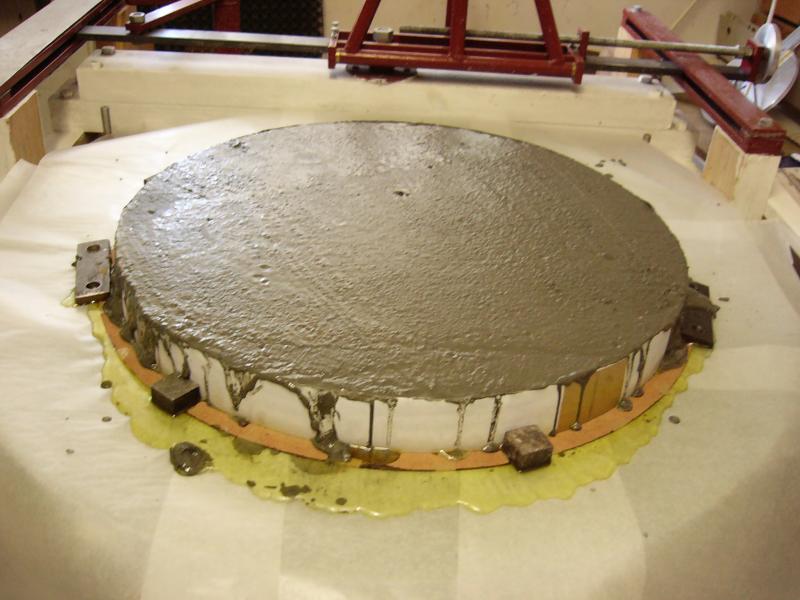
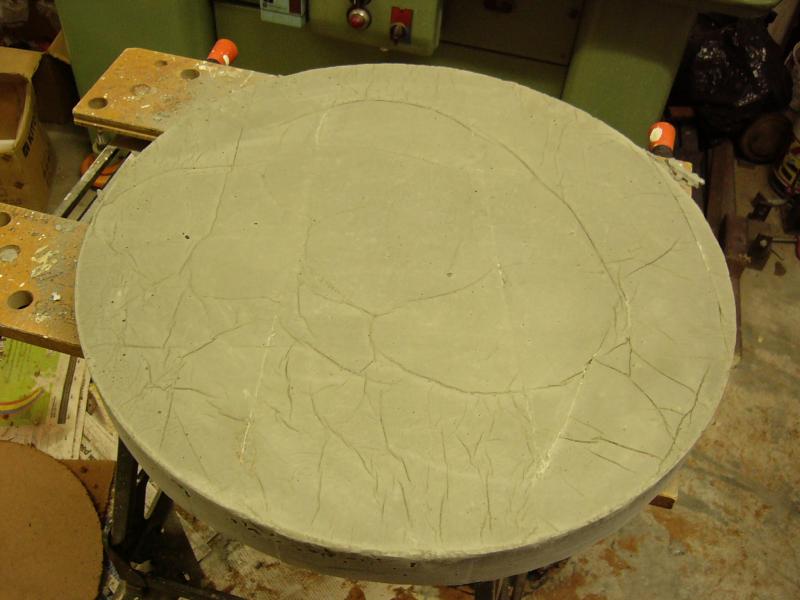
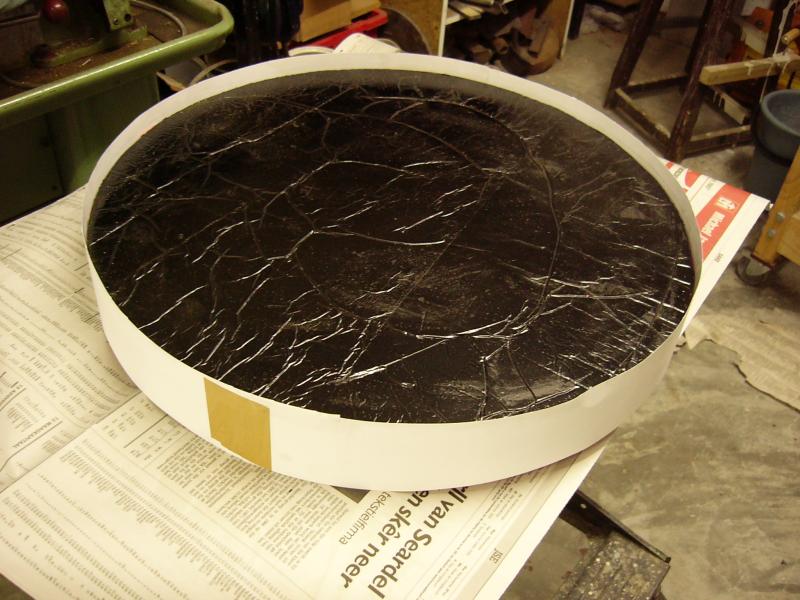
| The cement form seen form the bottom. | The cement base after casting. Small weights was placed on the ring to hold it flat on the mirror. It can be removed from the mirror after a day. | The cement base after 2 days of drying. | The back and sides of the base was covered with duct tape to prevent flaking which could scratch te mirror. Paint the face with a bitumen base paint otherwise the pitch is not going to stick to the base. If you do not have bitumen paint, dissolve a piece of bitumen in mineral turpentine. The consistency should be that of normal paint. |
Step 2 – Casting and forming the pitch lap
This part of the process can only be done after fine grinding.
 |
 |
 |
|
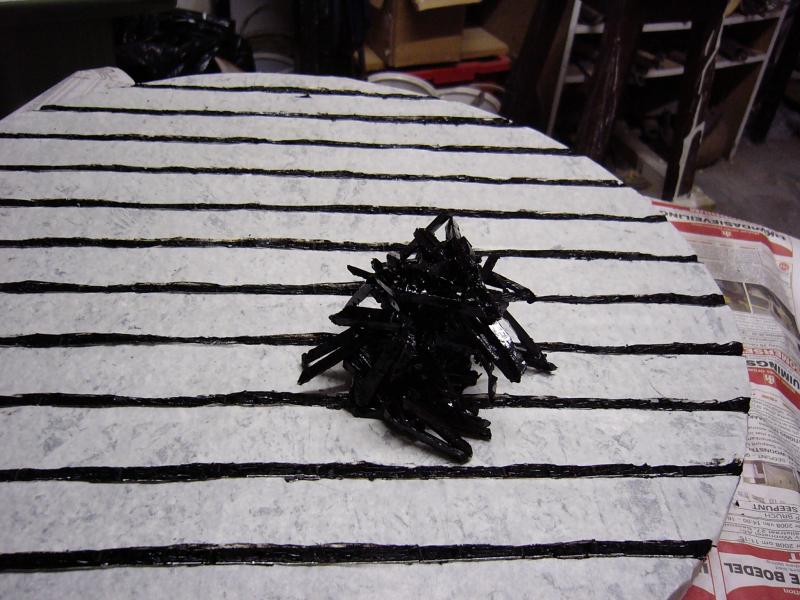
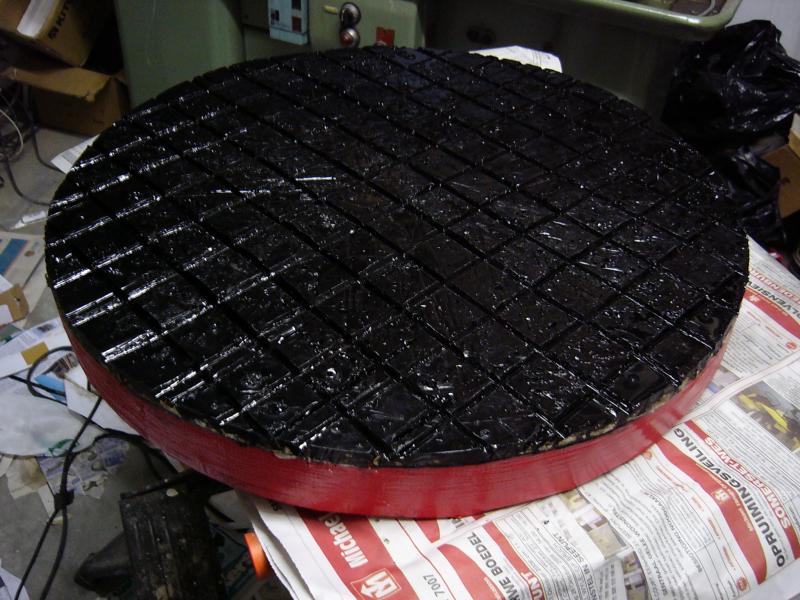
| A thin carton ring was placed around the base to keep in the pitch when poured. The inside of the ring was smeared with Vaseline to prevent/lessen sticking of the pitch to it. | Melt the pitch slowly. If it is melted too quickly bubbles will form which will be cast into the lap. If the purity of the pitch is uncertain it can be filtered through 2 layers of cheese cloth. Make certain that the cloth is securely fastened around the edge of the pot. The pitch should warm enough so that it runs freely. Add pitch as soon as half of the pitch has drained in order to prevent cooling of the pitch. | Pour the pitch from the middle of the base to the outside. If it is a big lap wait a minute or two and then pour a thin crown in the middle of the lap. Remove the carton ring as soon as the pitch is stiff enough. Mix some dishwashing liquid with water and apply it to the mirror and lap. Place the lap on the mirror and work it around. At this stage the contact between lap and mirror will not be very good. | To help the lap to make contact with the mirror, channels is cut into the lap. It also helps to spread the polishing compound around. Place masking tape 5 mm apart over the lap to mark out the channels. |
 |
 |
 |
 |
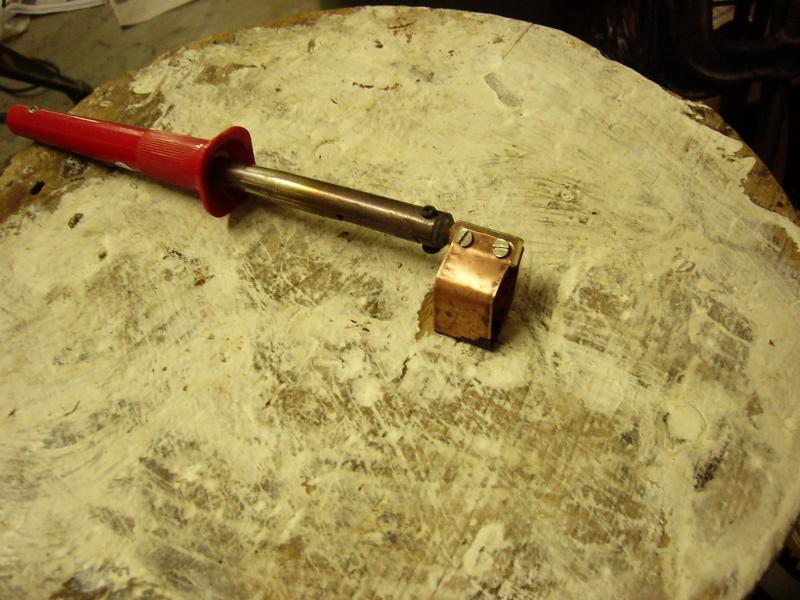
| One can use a knife to cut the channels but it leads to a messy frustration. A much better way is to use a channel cutter. | It helps to build up a ball of pitch cuttings as the channels are cut. The ball is touched with the cutting on the cutter and it will stick to the ball cleaning the cutter. | The lap after the channels have been cut. At this stage the lap was very rough since the crown was too thick and had to be cut down. Initially it was tried to cut channels with a piece of aluminum but it did not work well. | A flat cutter is handy to cut down high areas and it can also be used to fill in low areas. |
 |
 |
 |
|
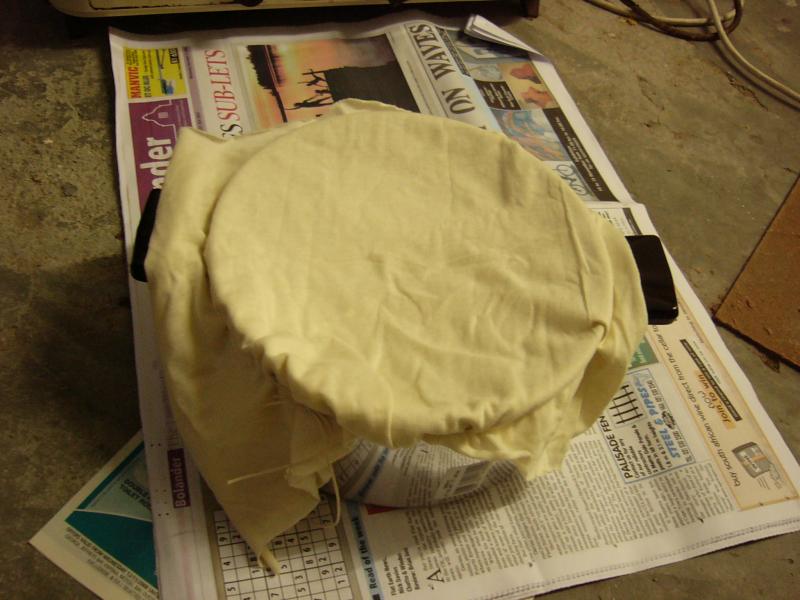
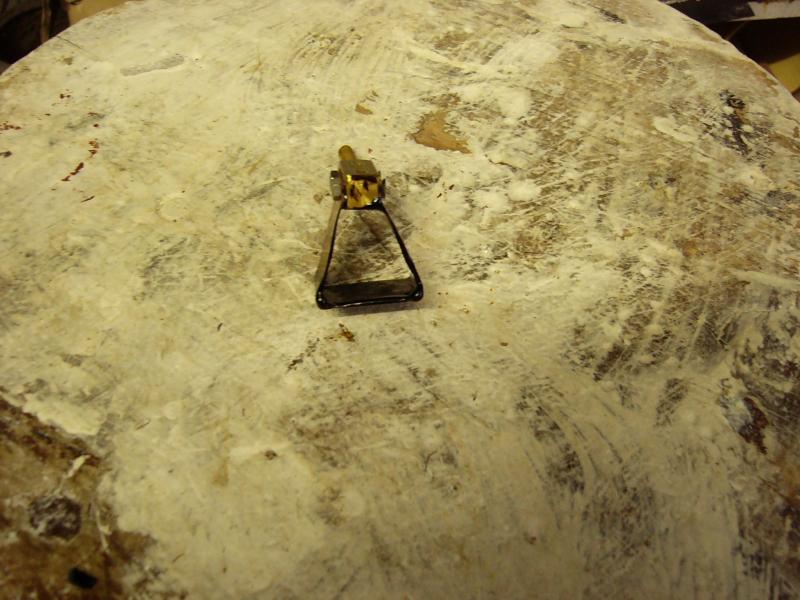
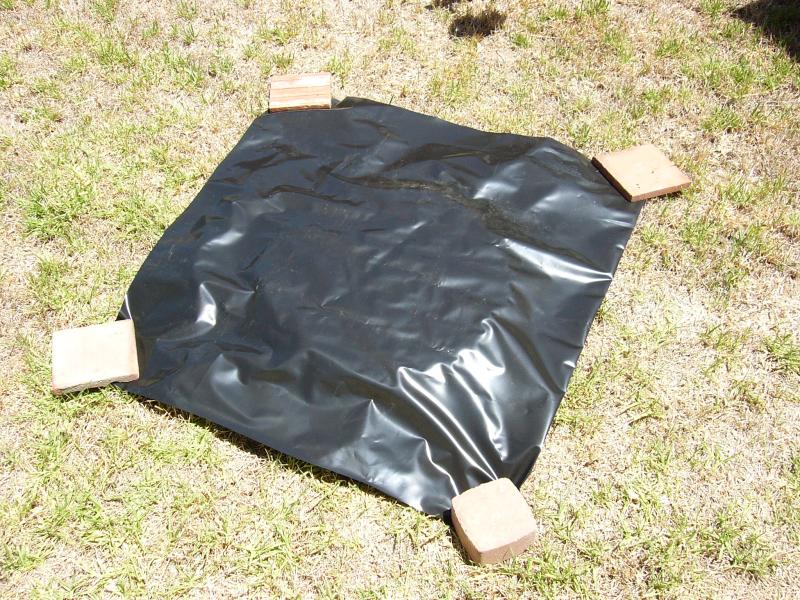
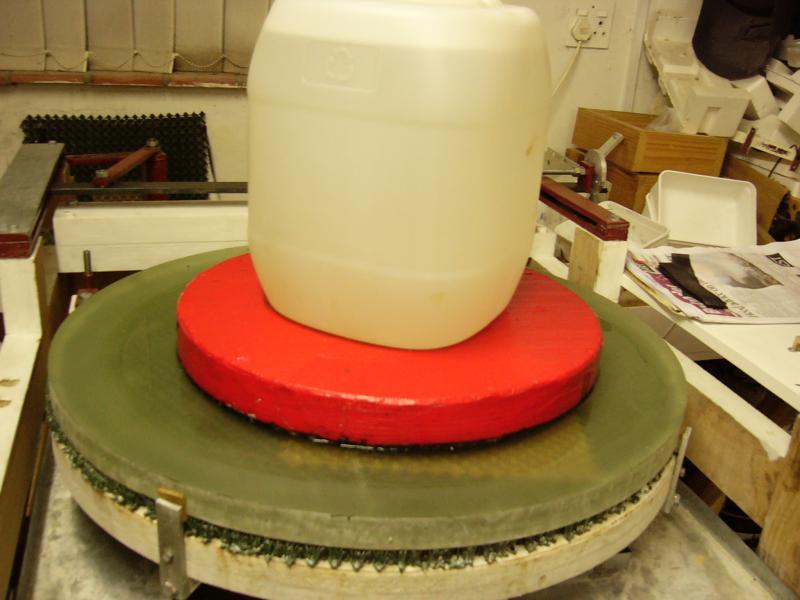
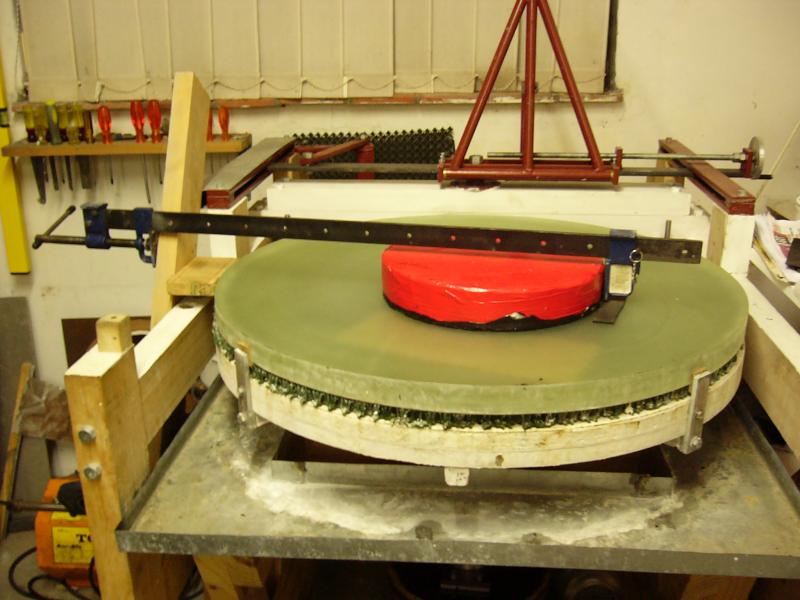
| In order to get the lap into good contact with the mirror it is necessary to warm up the lap. One method is to make a dam with duct tape but I found that the tape tend to curl inward with the heat and also starts to leak at the edges. Another method is to use a hot air gun but it is difficult to heat a big lap with it. The lap can also be heated in the sun as in the picture above. Place the lap between 2 pieces of plastic to prevent the wind blowing sand on it. | In order to help the lap press a water can was placed on the lap to add weight to it. The lap can be left for a long time if enough water is added so that a dam forms around the lap. It the lap is allowed to dry it might stick. Such a large weight should only be used initially since it will bend the mirror and it will be pressed into the lap. Thereafter during long press times the weight of the lap should be enough. | A safe way to loosen the lap when it is stuck to the mirror. A piece of wood is placed between the clamp and the mirror's edge to prevent damage to the mirror. The idea is to use as little as possible clamping pressure to loosen the lap. Tighten the clamp a bit and wait for a couple of seconds. If the lap does not move tighten the clamp a bit again and wait a couple of seconds. When the clamping pressure is enough the lap will break free after a couple of seconds. |